Putting the Leash On Ambition…
When I planned on making this #Lightsaber to join the Rebel Legion, I didn't realize how ambitious that idea was at the time. As I worked through various decorative techniques, it still didn't occur to me that this would really challenge my skills. However, as I look at the number of connections I wanted to make, I see how it can get very overwhelming planning how to put it together. So, I plan to take out the more ambitious parts of the saber: mainly the crystal chamber. While that only removes 4 wire connections, it removes the most difficult solder joint on the Petit Crouton sound board - on a joint between 2 surface mount components. That also saves determining the resistances for the multi-color LED to light the crystal.Also, by removing the crystal chamber, I don't have to figure out how to route the wires from one end to the other in a pleasing way. That gives me more room to place the more vital components; like the Li-ion battery, the Petit Crouton, the Color Extender, and the speaker. Essentially, removing the crystal chamber makes the saber less cramped.
Making a Plan…
While I've been recovering from a cold, I took some time to look at how to arrange the contents of my saber. The basic components for this saber are (in no particular order) a battery, a sound board, a speaker (to play from the sound board), an LED (suitably high powered), 2 switches (one momentary, one latching), and a recharge port. While you can vary some components, those are the basics for a running saber that can be used and looks "real."In my saber, I'm adding the Color Extender board and changing the latching switch to a momentary switch. The Color Extender allows up to 3 LED dice to be mixed for color and Flash-On-Clash response (don't worry, I'll demonstrate these when I video my working saber).
Anyway, as you can guess, there's a lot of planning as to how to arrange all these parts. Below is a picture of the parts laying beside the my basic saber body.

From left to right, the speaker in a housing, the battery with the Petit Crouton and Color Extender boards, the recharge port, and 2 momentary switches. Now, the boards get attached to the battery in the order they've been set, with the Petit Crouton as close to the pommel end of the saber as possible. Here's a closer picture of the group.

The battery is a little over 5 inches in length and the boards will easily fit in the saber once attached to the battery pack. Before I do that (in a later blog), I want to make some solder connections (also a later blog, sorry). For now, I'm placing the parts so that I can visualize what needs to be done to place them in the saber. For instance, if you notice the boards a fairly exposed electrically and could short to the aluminum saber body. That means I need to come up with a method of isolating the battery and boards from the aluminum. Rob Petkau of Genesis Custom Sabers uses PVC inside the saber body and that sounds like the best way to do it to me. That adds to my build list, if I can't buy it, a piece of PVC pipe fitted inside the saber.
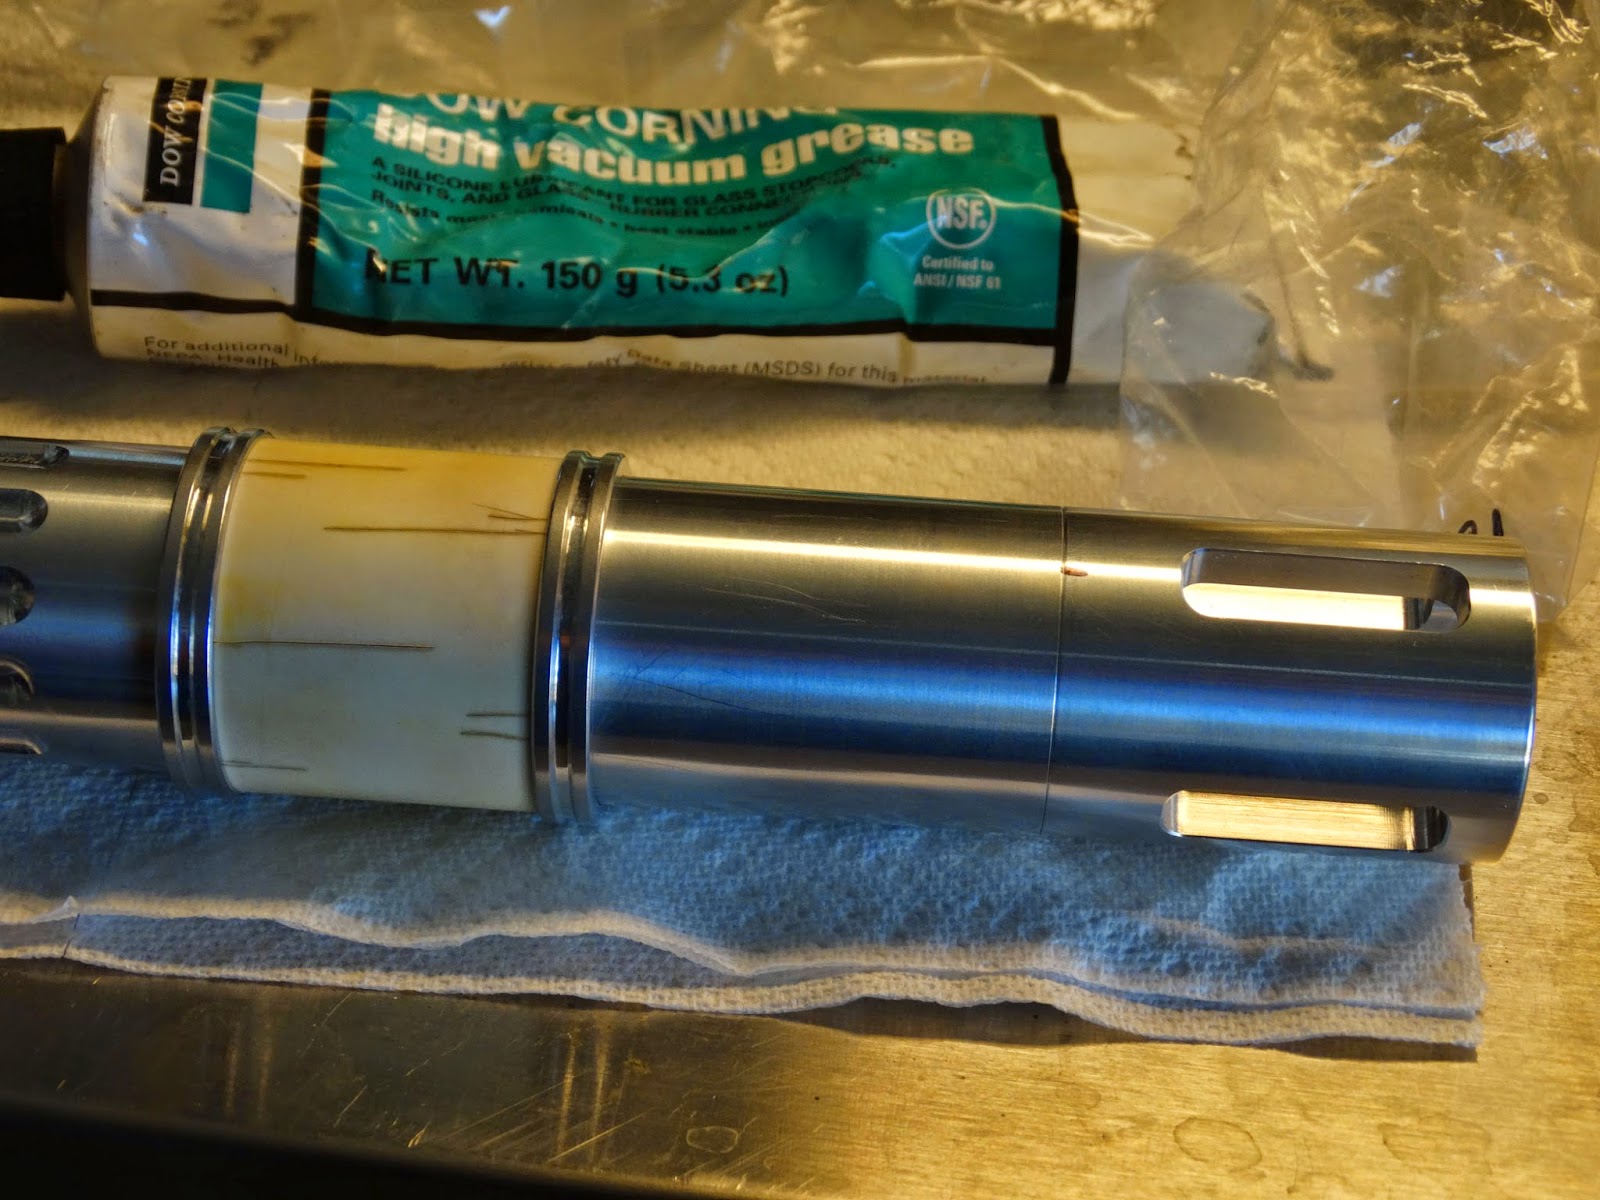
Another thing to note for the PVC insulating piece, it may need to have an opening in the side to insert the battery and board grouping as, I think, I didn't attach enough length of wire to the LED unit in the saber emitter - as seen in this pic.

Since the wires only reach about 2 inches from the rear of the saber, it may not be enough length to have the batter clear of the saber body when I make the solder joints.
Now, on to the switch and recharge group.
Originally, I planned on the recharge port being at the pommel end of the saber but I decided to move it up with the switches. That will place it where I can see whether the "kill" key is in the switch or not before I try to turn on the saber. The "kill" key is a piece of plastic that, when inserted in the recharge port, "kills" the power to the sound board because it engages a switch in the plug - more on that in a later blog entry.
The two momentary switches will be placed so that the switch on the right (when the saber's "dangerous" emitter end is pointed away from the user) will activate the saber and the button on the left will switch the auxiliary controls (blaster/clash effects, lock-up effect, and switching sound banks). Keeping with canon #StarWars, the switches will look identical in the final saber.
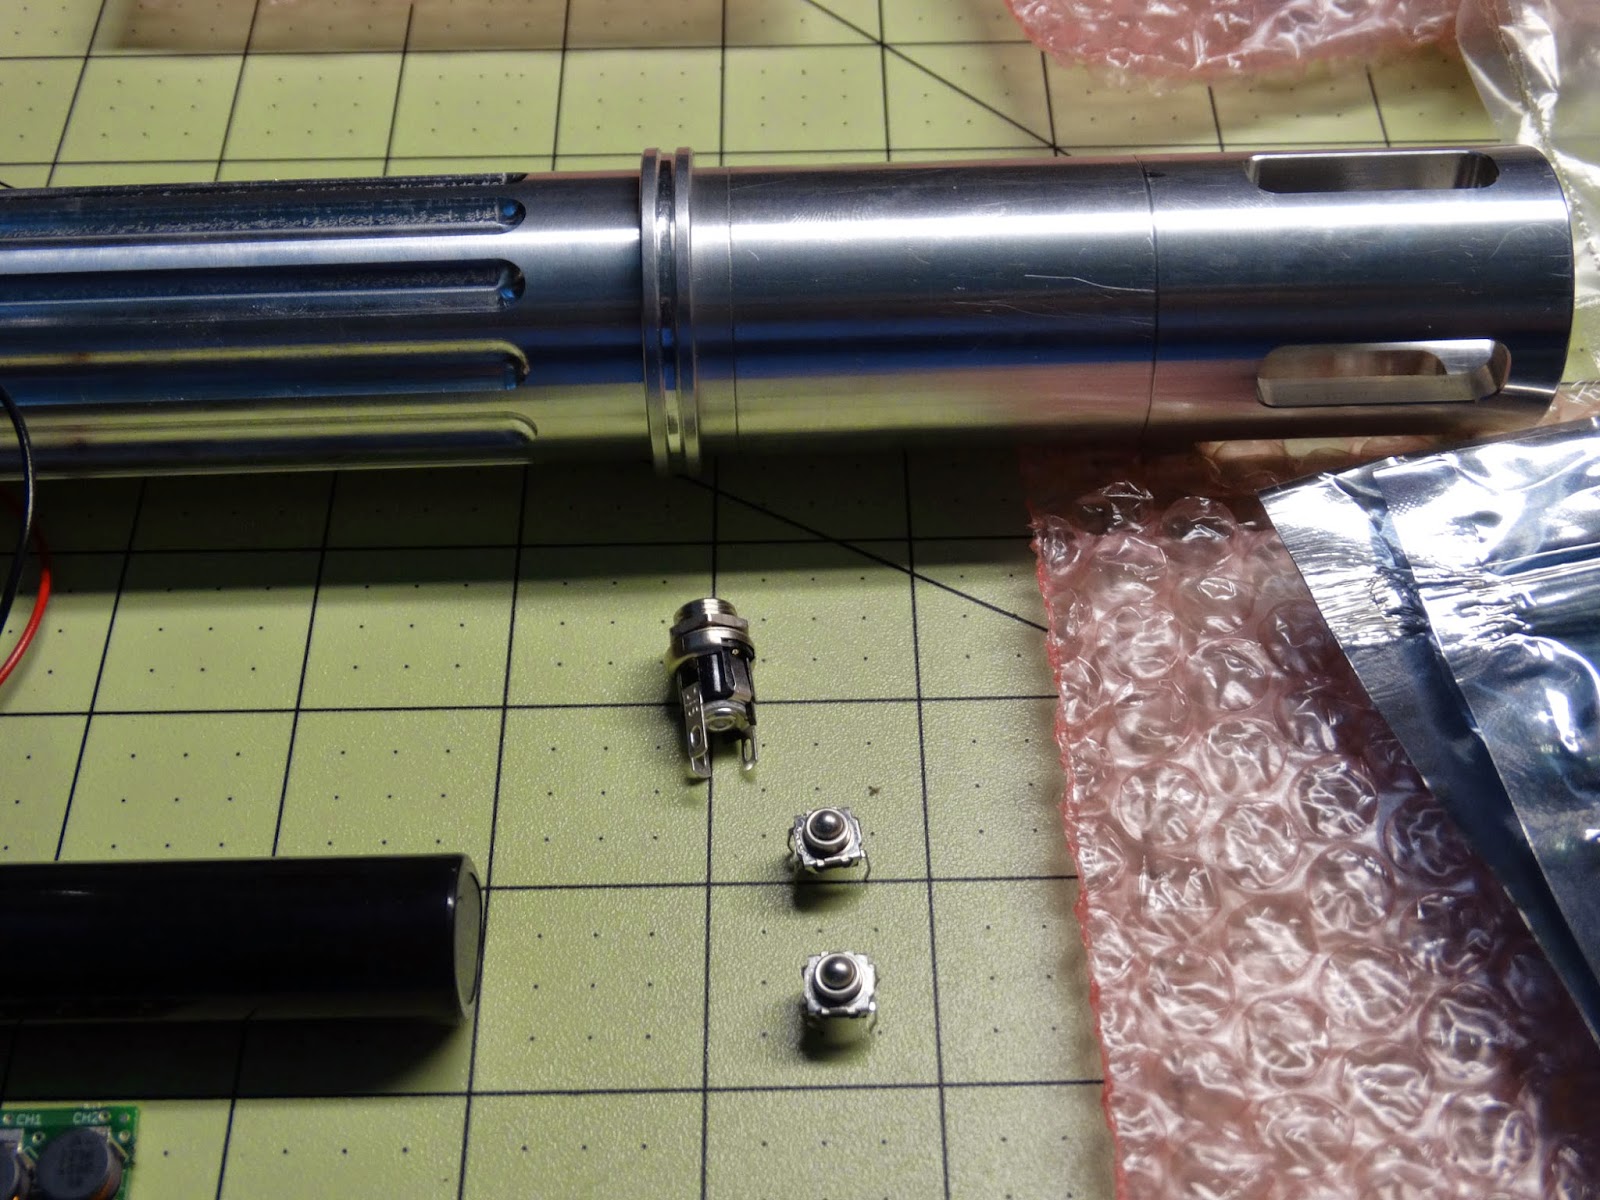
To mount the switches, I got this piece from The Custom Saber Shop to hold them.

The switches don't quite fit this device which was expected: it was designed for different switches. It, however, helps me visualize how they will sit on the saber and gives me options for the recharge port. The recharge port can be placed ahead (towards the emitter) of the switches or, more likely, behind the switches and toward the pommel/hilt end of the saber.
Why place the recharge port toward the pommel/hilt end? It's a small difference to the layout of the saber but the "kill" key will stick out of the saber and feel awkward while in the saber. If I go to activate the saber and feel the "kill" key lump under my fingers, that will remind me to remove the "kill" key so I can use the saber. If the recharge port is ahead of the switches, then I might miss that the saber isn't "ready" to use. As I said, it's a small change in the layout of the saber, but it makes a huge difference to the user to have a reminder if the saber is ready or not.
It also helps to design the PVC insulator so that I can mount the recharge port. I may even design the insulator to also hold the switches. That way, the internal components will move as a unit as the saber is used.
Planning the layout of the internal components makes it easier to make other decisions on the fly while building.
What's Next?
Well, I know that there are some parts to make. I need the PVC insulator before I do any soldering: it serves as my layout. I plan to put a shroud on my saber, so that's a must. I'd also like to make a custom emitter safety plug for the saber. And I still think some fake bone would be cool on the saber, so I'll shelf that one.At this point, there are jobs that have to be done in order and a few that can be built in any order separately. To make the emitter plug, I have to drill and tap a blade retention screw in the emitter. Building the shroud meshes well with drilling and tapping the blade retention screw. Also, the blade retention screw is kind of like the center-line of the saber; everything is based on it's placement.
That means, the next blog will be about drilling and tapping the blade retention screw and making a shroud for my saber.
I hope you've enjoyed today's entry. You can follow me on Twitter @jek_creations & please feel free to tell me what you think about the blog.


.jpg)


.jpg)